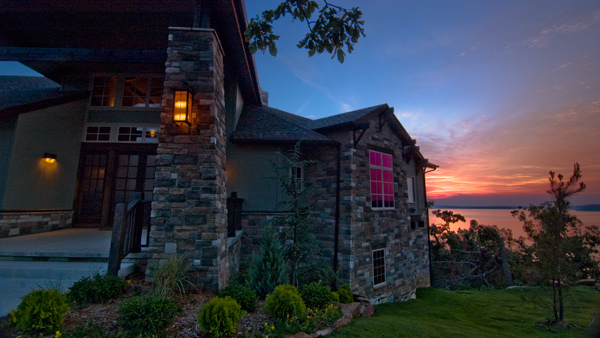
When somebody asks me whether my images are "Photoshopped", I have no idea what they mean. But here's how I work:This was an image for a stone manufacturing company in Tulsa, Oklahoma. They were putting together a portfolio and needed images of their work as it was installed.I knew this site would be trouble because I was shooting into the sun. I don't have artificial lighting big enough to flood fill the entire house (just an SB600 flash, heh), and I didn't have the time to set up a mess of stuff even if I did have it.So, two exposures. One for the ground, the other for the sky.The Ground[super]ISO 200, 12mm, F/8, 0.8 sec[/super]
Then, a totally separate image (and for the love of god, adjust the exposure without bumping the tripod. Use a cable release if you have one, or hope it ain't windy.)The Sky[super]ISO 200, 12mm, F/8, 1/6 sec[/super]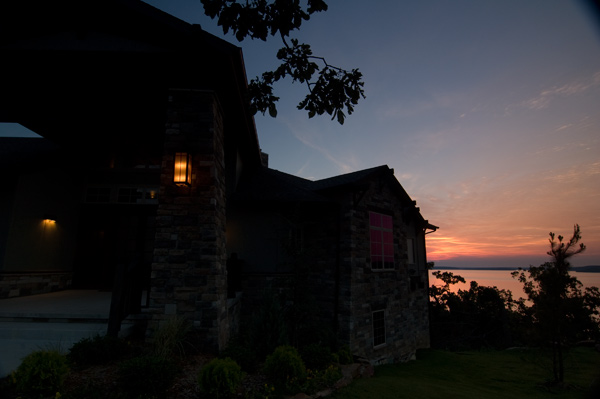
AdjustmentsAll adjustments are done in Adobe Lightroom.Adjustments for The Ground( basic , HSL )
- white balance. warmer : from 5000/-4 to 6167/+4
- recovery, contrast, little fill light
- increase saturation : yellow and green
- decrease saturation : red, and a little blue
- reduce luminance : blue, some orange
- crop (which I shouldn't have done so early.. but hey, this is how you learn)
which creates this: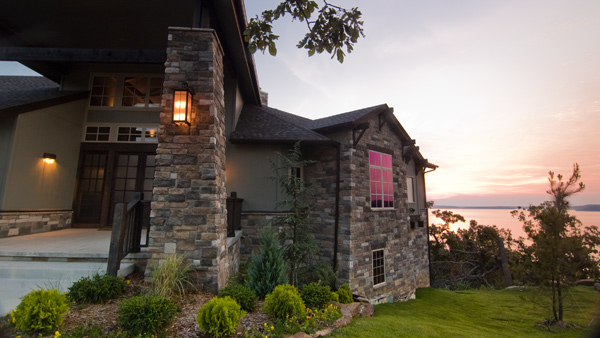 Adjustments for The SkyBasic
- white balance : cold, stupid cold. from 5250/-3 to 3905/-7
- high recovery
- complete fill light. This might not work on most images. I wanted to practically eliminate the darks so the interface between this and the "ground" image above isn't so jarring.
- raise the black level just a little because it started to look sickly. This also saturates the color slightly (not sure why).
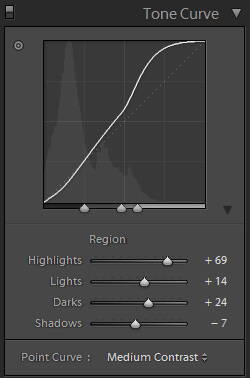
- tone curve :
- HSL : bring up the red saturation and blue luminance
- split toning : warm the shadows, because between the blue luminance and the low temperature, this was getting cold, fast.
- crop : welp, gotta make it match the other one..
Into PhotoshopPut the dark layer on the bottom, and then use the other layer to brighten it.
 Making a mask is funStart with a black mask and use a white brush to make parts of the ground layer visible. Also, don't view it like this. These images only show what I came up with afterwords.
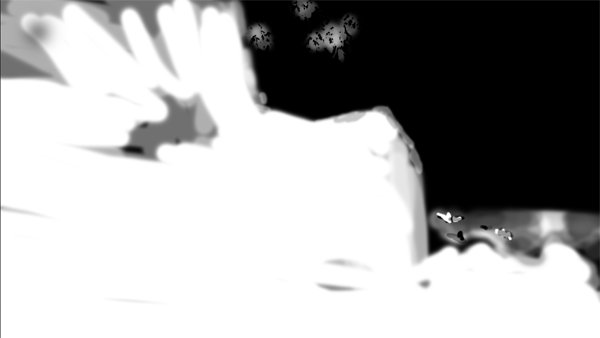
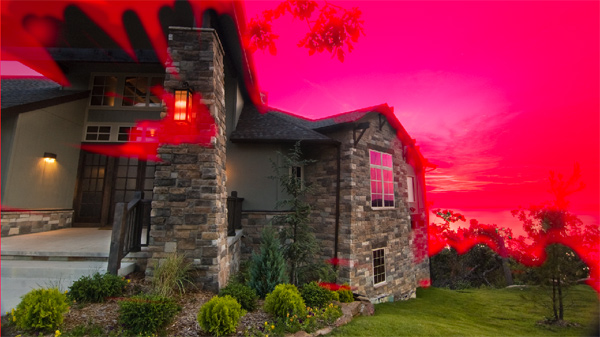 We're almost there..
 We just need some little tweaks:
 ..which do this:
 Now the house is warmer and brighter, which is how I remember it:
 One more thing.. When you use a 12mm lens, and tilt it above or below the horizon line, no matter how slight, you will get perspective distortion. Since I don't have a tilt-shift lens, or a large-format view camera like Ansel Adams, where you can correct for this in the camera, I'll have to settle for this:
 ..which does something like this:
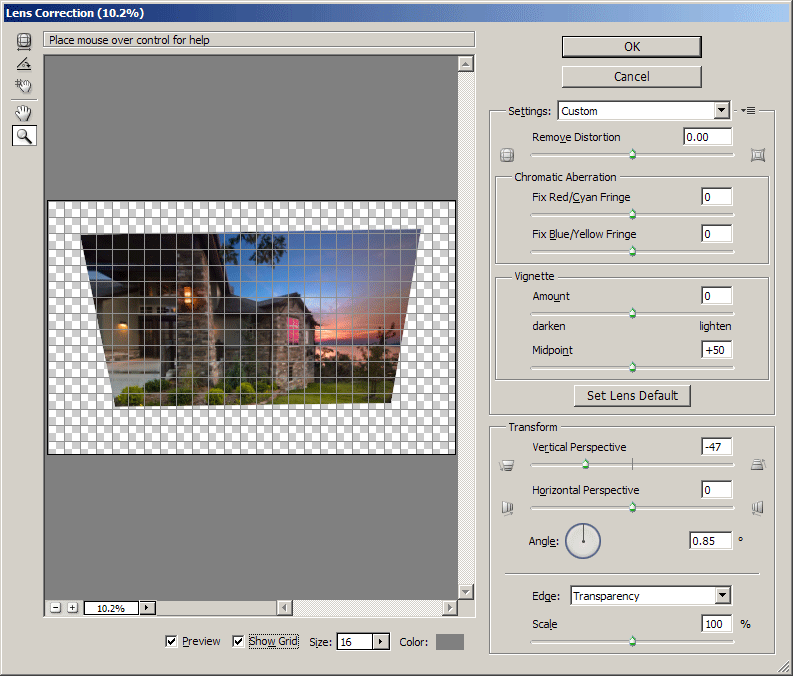 And finally, the moment we've all been waiting for:
Any questions?


